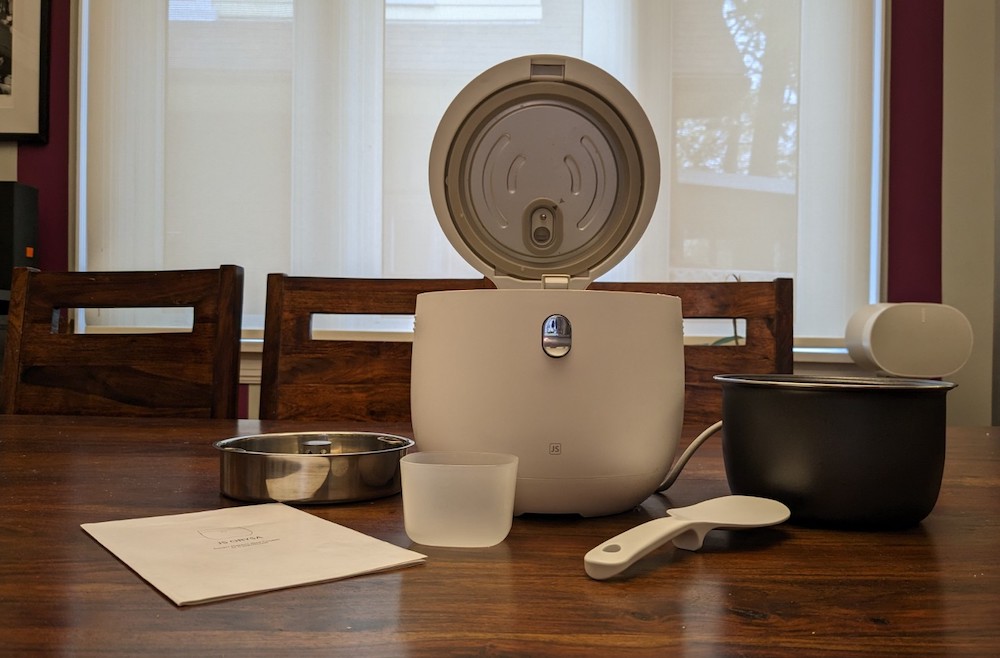
Cooking rice is something people have been doing for thousands of years, and in modern times, rice cookers like the JS Oryza rice cooker and steamer have become a popular way to accomplish the task. They are simple to use and deliver flawless results every time.
As someone who still cooks rice the old-fashioned way in a pot on the stove, I was eager to try this model. I have friends and family members who swear by their rice cookers. But I have never felt I needed one. With that said, I will admit that there are times when my rice doesn’t come out exactly as I want it. Either the heat is too high or there isn’t enough water and it burns and sticks to the bottom. Sometimes, the water or broth is absorbed but the rice is still undercooked. Can the JS Oryza eliminate the chances of that happening?
JS Oryza rice cooker design and functions
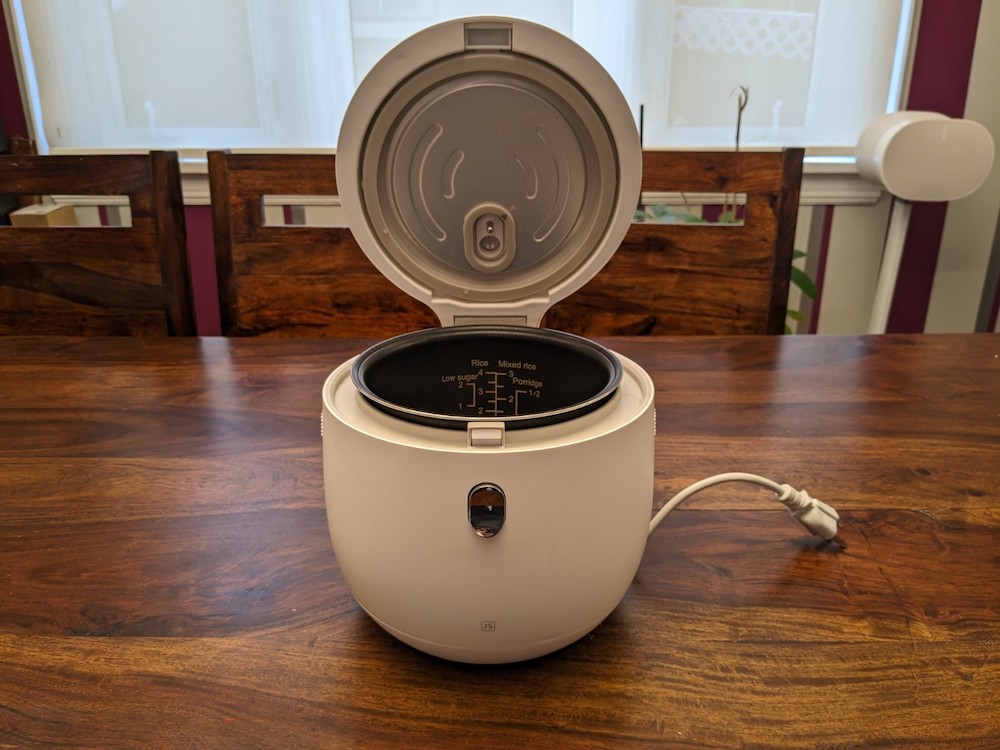
The JS Oryza rice cooker from JS Innovation is a cylindrical-shaped rice cooker and steamer. It fits nicely on the countertop but can also tuck away in the cupboard when not in use. It’s smaller than a traditional rice cooker at 22 x 24 x 21.5 cm and weighs 4.6 lbs.
It has a simple, one-click cook function. This is for not only plain and mixed rice but also soup, porridge, congee, and other similar dishes. It also has a special function for cooking low sugar rice, extracting the starch for a healthier option. This is something diabetics and others might especially appreciate.
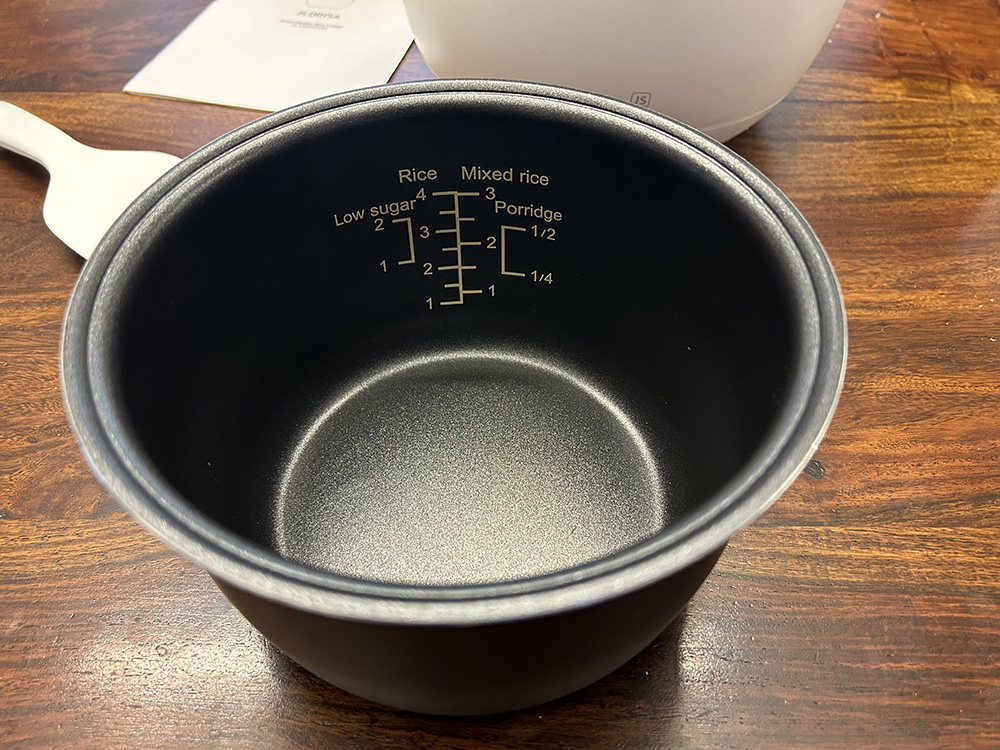 The two-litre volume can accommodate up to four cups of rice for feeding up to four people (or 5-6 portions). Once done, the machine switches to auto-warm to keep the rice warm until it’s ready to eat.
You can also add the water and rice and preset a cook time up to 24 hours in advance. This means the rice is ready for you when you get home from work. There’s also an auto shut-off feature.
Offering 350 watts of power and with built-in digital control and LED display, the unit comes with a manual, starch remover, and power cable.
How to use the JS Oryza rice cooker
The first thing I did after unboxing the JS Oryza rice cooker was wash the stainless steel inner pot, starch remover, and measuring cup. The appliance is much smaller than I expected, which is nice since it doesn’t take up much room on a countertop.
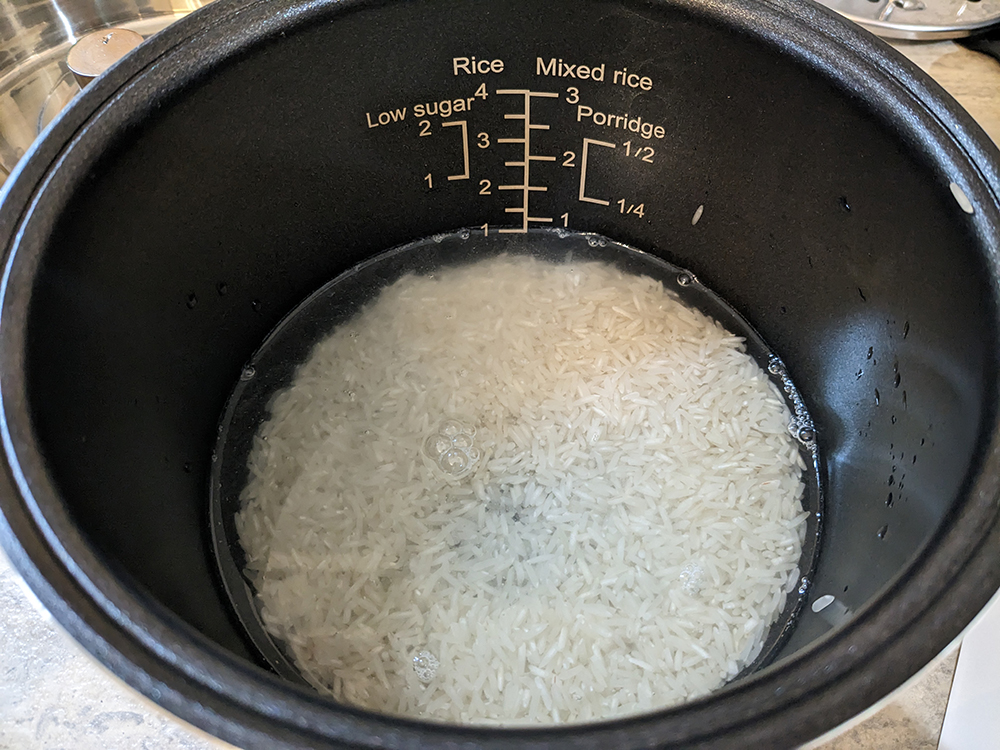 Measure your rice in the measuring cup and place it inside the inner pot. It’s advised to wash the rice first to remove dust, debris, and residual starch. The measuring markings on the cup are very faint and difficult to see. I wish they were black or made easier to read.
Add twice the amount of water as the rice. I added one cup of rice and thus poured in two cups of water. (Note that if you’re making porridge, the ratio would be higher). The manual suggests giving the inner pot a little shake to make sure all the rice is submerged. Don’t forget to add salt! You can add other seasoning to the rice before cooking as well.
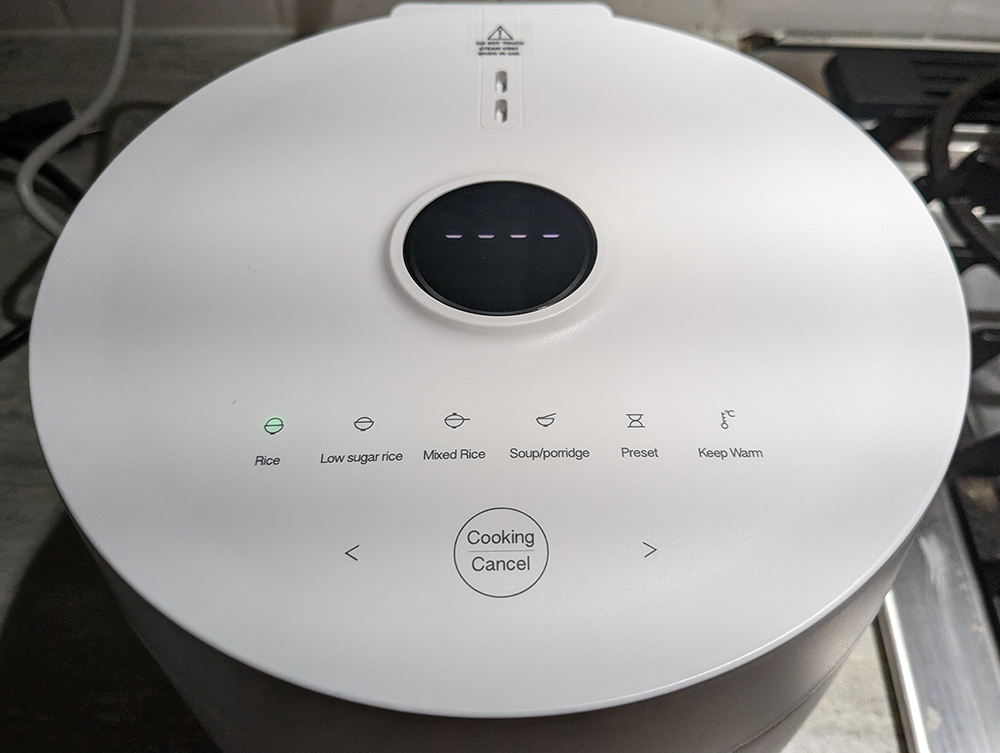
Place the inner pot into the cooker and plug it in. Close the lid and select which option you want from Rice, Low Sugar Rice, and Mixed Rice.
Making rice in the JS Oryza rice cooker
I first tried standard rice. The manual says it will begin cooking after about five seconds and you’ll see a countdown timer when there is 10 minutes left. When you press Rice, you see three lines moving up and down on the screen, so you know it’s doing something. I wasn’t sure if I was supposed to press the “Cooking/Cancel” button as well, or if pressing that would cancel the cook. I left it to see what would happen. Indeed, the 10-minute timer eventually popped up.
For what it’s worth, the instructions for other types of rice note that you can press the Cooking button right away or wait the five seconds for auto-cook to kick in. I suspect this is the case with regular rice as well. However, I wish there was a countdown timer for the entire duration.
The entire cook took 30 – 35 minutes, which is longer than the usual 18-minute cook time on a pot on the stove, so keep this in mind when timing your meals.
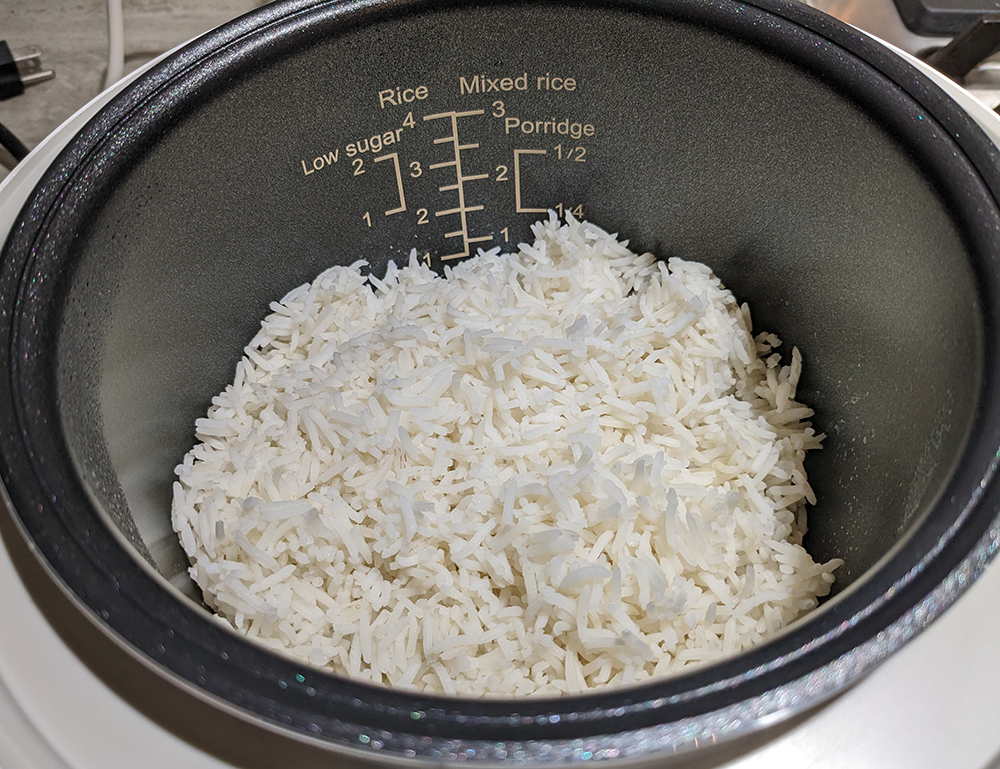
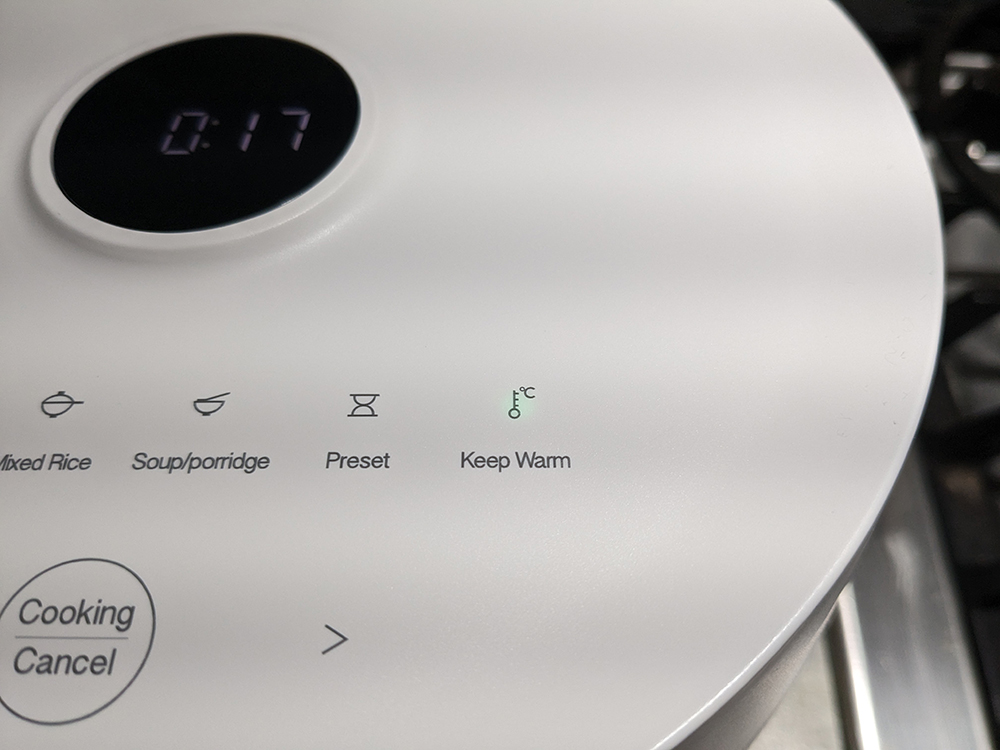
Once your rice is ready, the machine will beep. The function light will also turn off. But the best part is that the Keep Warm mode kicks in. This means you can cook your rice in advance and have it kept warm while you work on the protein. It’s suggested that you at least fluff the rice within 30 minutes, even if you’re going to leave it in there for longer. The default Keep Warm function is for up to 12 hours. Once you’re ready to eat, press the Keep Warm button again to turn it off. You can scoop out the rice using the included rice paddle. If you can’t find it, look on the side of the Styrofoam packaging: it’s hidden in a groove there, so it’s easy to miss!
 You can also make low sugar rice and mixed rice in this small appliance. There are different ratios of rice to water depending on what you are using, ranging anywhere from 1:1.5 to 1:3. Check the manual or go by the instructions on the package of rice and do a test batch first. (I was not able to find low-sugar rice in my local grocery store to test this option.) For soup or porridge, it will take about an hour to cook.
There’s also a preset button if you want to prep the rice and water (or porridge or soup) ahead. The default time is four hours but you can change this by pressing the button to increase in 30 minute intervals. It’s a useful feature if you’re entertaining, for example. You can get the rice prepped ahead before you get involved with more laborious tasks and forget to do it.
Experimenting with different rice dishes
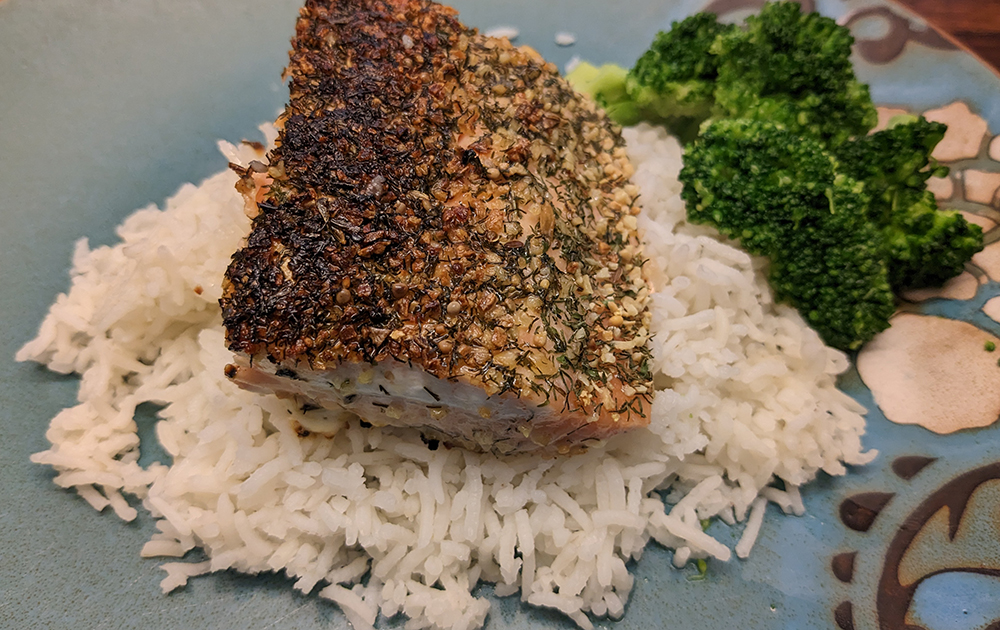
The rice looked great when I opened the lid. It fluffed beautifully when I scooped it out to plate. But my favourite part? It lifted nicely from the non-stick inner pot, not leaving any residue behind. Clean-up truly is a breeze!
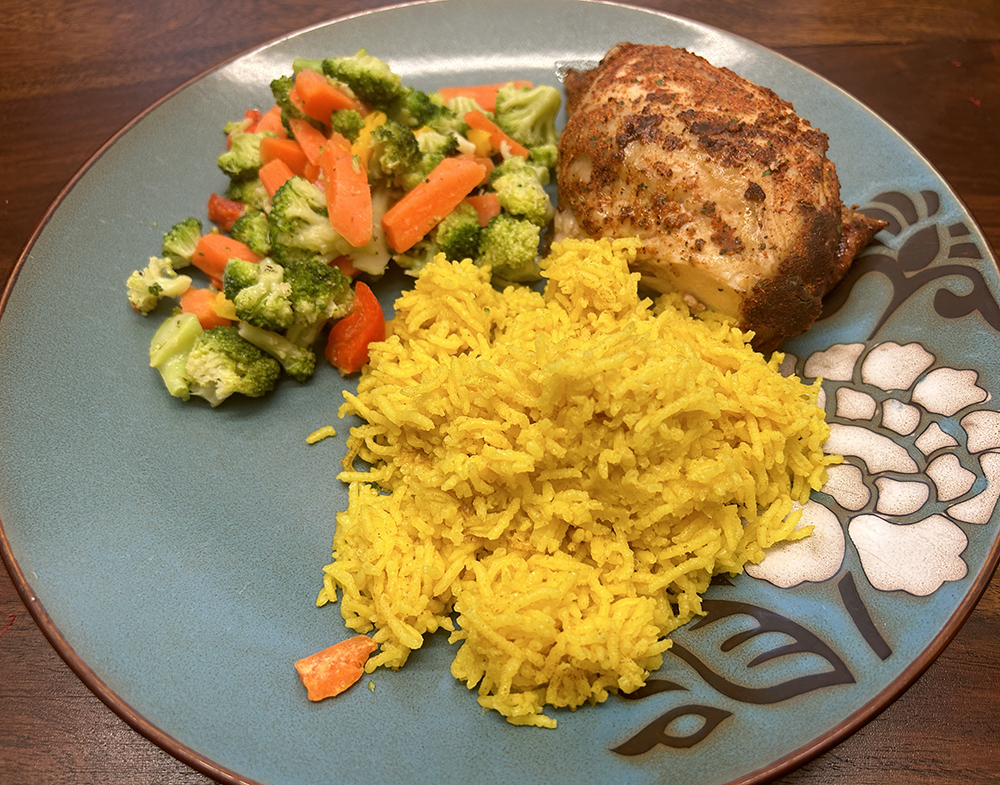 The first time, I left the rice to keep warm for a few hours until my son got home from school. The next time, I fluffed it immediately then let it sit for about 40 minutes until dinner—salmon with rice and broccoli—was ready. The rice was still hot, with the inside steaming as soon as I opened it. The third time, I added butter, cumin, turmeric, and a few bay leaves before the cook. The rice came out perfectly both in taste and texture, with my son requesting a second helping.
For a curry dish, I made coconut rice with half coconut milk and half water with a pinch of salt and it was to die for.
Making porridge/oatmeal
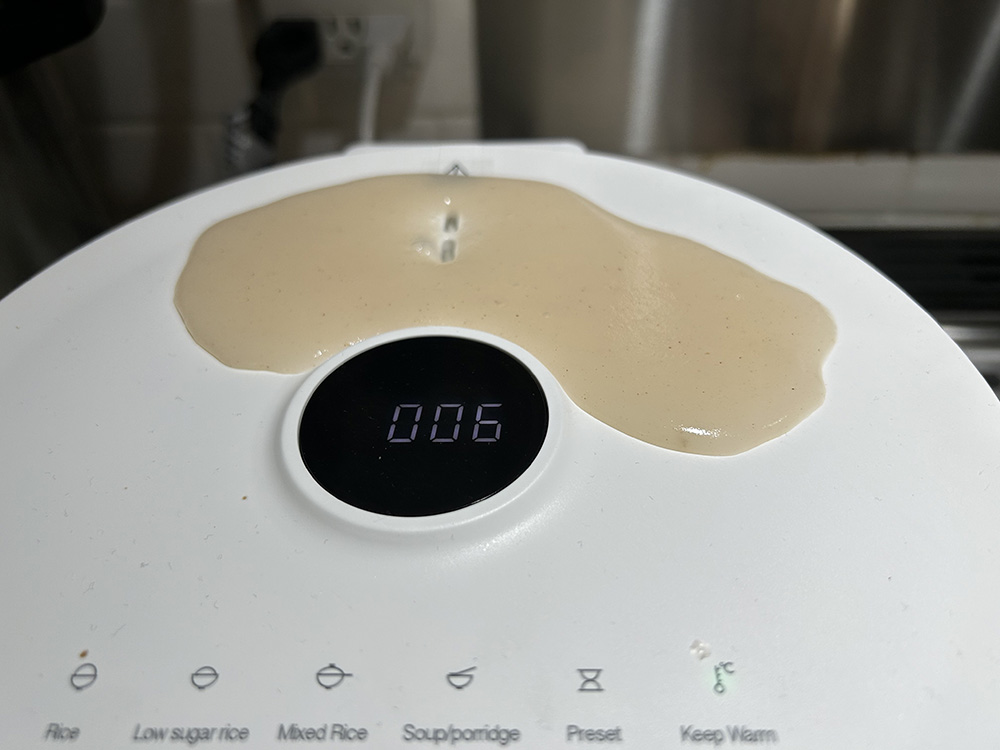 Next, I tried porridge and the results were not so great. I thought the recommended 8:1 ratio of water to oats was a bit much and I was right. I end up with a soupy mess after an hour of cooking rolled oats with water. Plus, some of it leaked out of the steam vents onto the top of the pot. The manual does suggest that overflow can happen if the voltage is not stable. But I did not have any indication that this is the case in my kitchen where it was plugged in.
 I tried again using a 2.5:1 ratio of oat milk to oats this time, similar to when cooking rice. This would be the typical ratio I use when making oats on the stove, in the microwave, or even in my Instant Pot. It came out OK though the texture was slightly gummy.
Bottom line: this rice cooker is great for rice. But depending on the type of oats you use and how you like your oatmeal/porridge, there’s some trial and error to get it right. For traditional oatmeal, stick to the stovetop or microwave, or consider using denser oats, like steel cut oats, in this machine.
Is the JS Oryza rice cooker and steamer for you?
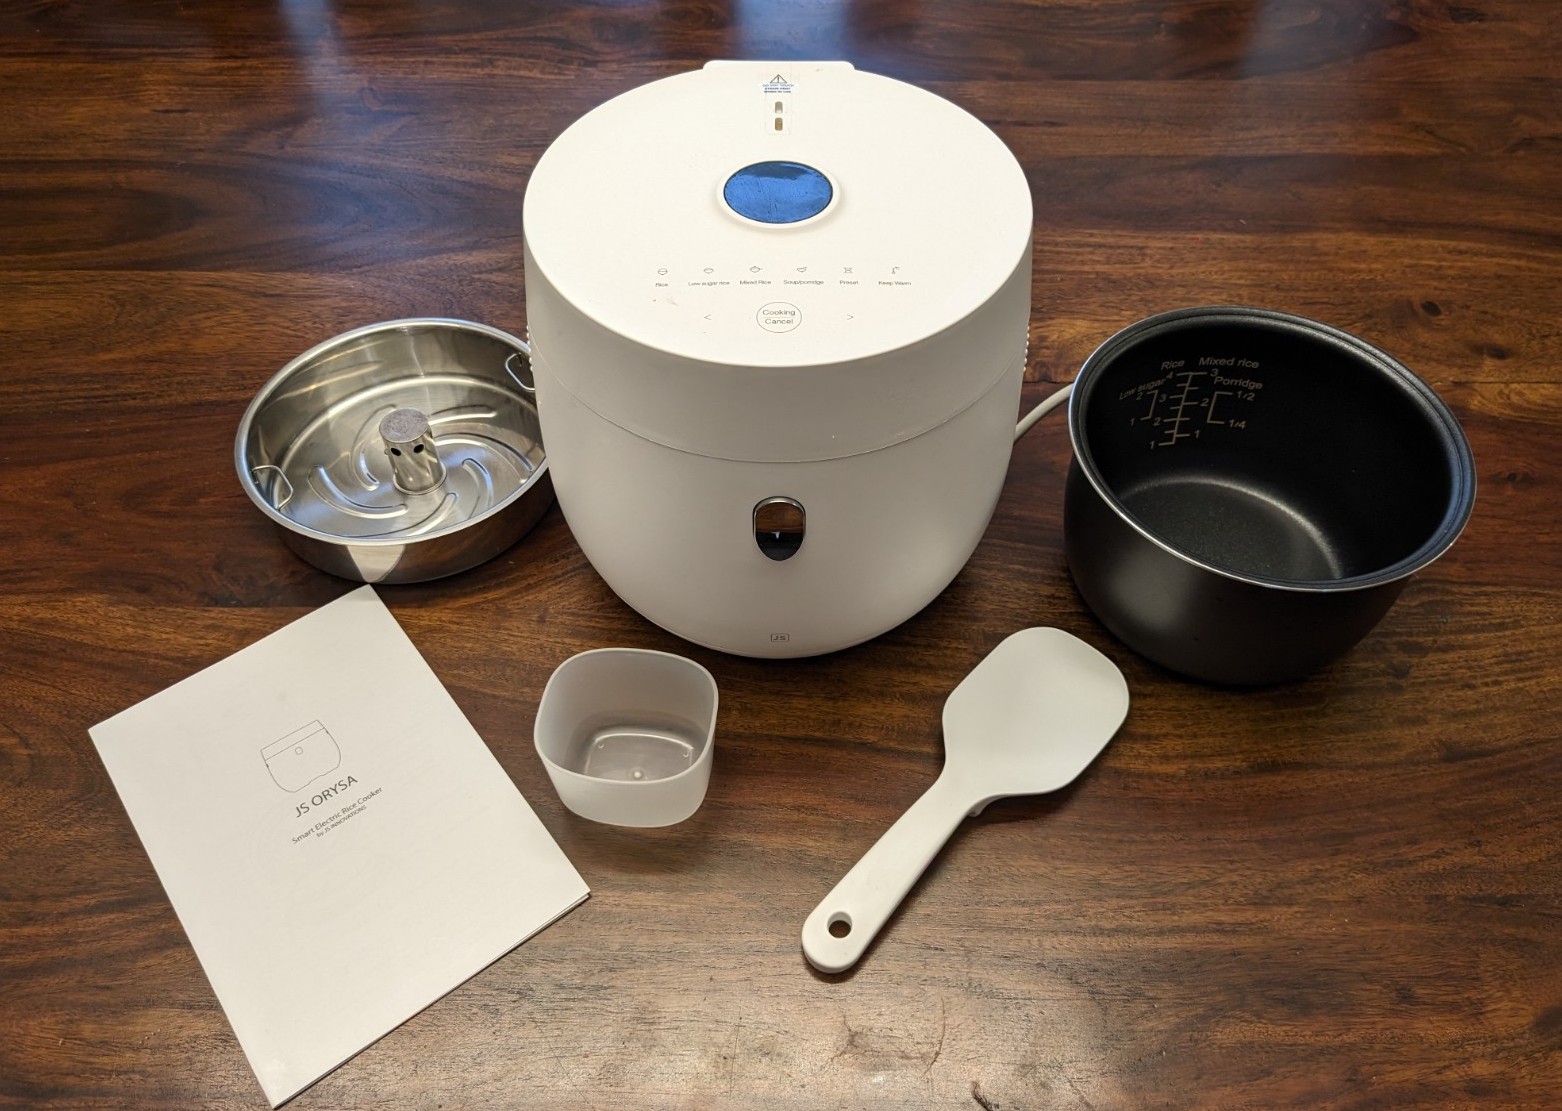
If you make rice dishes at least once a week, the JS Oryza rice cooker and steamer is a good investment. You can truly “set and forget.” Add the water and rice and leave it for hours. It will be ready for dinner time once you make your protein. I love that I can cook the rice with my favourite seasoning as well. It’s simple to use and easy to clean. Plus, it doesn’t take up much room on the counter.
It’s smaller than other rice cookers so you’re limited in how much you can make. But for a family of 2-4 people, and even small gatherings, it’s a handy small appliance for the kitchen.
Find the JS Oryza rice cooker and steamer at bestbuy.ca
The post JS Oryza rice cooker and steamer review appeared first on Best Buy Blog.
